Anpassen der Spaltenanzeige im Projektverzeichnis-Tool
Ziel
So passen Sie die Spalten im Adressbuch-Tool auf Unternehmensebene an.
Hintergrund
Sie können die Spalten im Adressbuch-Tool anpassen, sodass Daten angezeigt werden, die für Sie und Ihr Projekt relevant sind.
Wichtige Hinweise
- Erforderliche Benutzerberechtigungen
- Sie können nur die Spalten in der Ansicht Benutzer anpassen.
- Die Spalte „Berechtigungsvorlage (zugewiesen)“ ist im Adressbuch-Tool auf Projektebene standardmäßig ausgeblendet.
Schritte
- Navigate to the Company or Project level Directory tool.
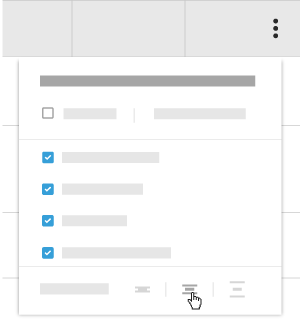
- On the right side of the header row, click the vertical ellipsis (⋮).
- Choose from these options:
- Show a Column
Place a check mark in the box next to column to show on the Directory page. The default setting is to show all available columns. - Hide a Column
Remove the checkmark from the box that corresponds to the column to hide on the Directory page. This immediately removes the column from the page. - Reorder the Columns
Grab the column name by the dots (⁞⁞). Then use a drag-and-drop operation to place the column into the desired position in the list. This immediately moves the column into the specified position. - Restore the Default Settings
Click the Reset to Default link at the top of the drop-down menu. - Set the Row Height
Click one of the available Row Height icons to set the relative height of the rows in the table.
- Show a Column
In Beta
Eine aktualisierte Version des Projektadressbuchs befindet sich derzeit in der Beta-Phase und kann in Procore Explore aktiviert werden.
- Navigieren Sie zum Adressbuch-Tool auf Projektebene.
- Klicken Sie auf das Symbol "Konfigurieren
 ".
". - Verschieben Sie die Umschalter
 auf EIN oder
  AUS, um eine Spalte ein- oder auszublenden.
 - Klicken Sie auf X , um das Menü zu schließen.